 Making bread is both a rewarding and relaxing hobbie I’ve picked along the way. What no-one tells you is that its also easy to do with no special skills or equipment needed. It takes 15 minutes of hands on work including clean up. Sure there is technique and experience that play a part in the end result but if a novice like me can make a decent loaf then anyone with some patience and attention to detail can do it too!
Ingredients: All my bread is made with the same basic ingredients. Sometimes I play with the hydration ratios and sources of flour but basically it is the same list. The standard country loaf is 735 grams in weight pre-cooked and baguettes are 250 grams pre cooked weight. Here is my standard bread recipe. It doesn’t matter if you double or triple it just simply commit these amounts to memory and you’ll be making loaves every day in no time at all.
- 432 grams of bread flour
- 280 grams if water
- 9 grams of salt
- 9 grams of sugar
- 5 grams of yeast
That’s it! Now let’s all talk about ingredients for a moment.
- For flour I prefer King Arthur Special. I buy the KA Special @ Restaurant Depot in a 50 lbs bag for $19. Bread flour in 50 lbs bags at Costco can be purchased (ask at the Bakery) for $17. You can buy 5 lbs bag at the grocery store for $4 a bag. KA Bread flour or Gold Medal Better For Bread flour are good. My preference is the KA Special but the other choices also work well in the order mentioned. I do not make bread with an AP flours. I think AP flour tastes pasty and that it is great for pie crusts, croissants, and cakes but if you are shooting for for home baked artisan style bread the KA Special is the way to go.
- Water. Bottled water, tap water that is filtered or pre-boiled tap water cooled in the tea kettle works well. The boiling burns off all the chlorine in the water. The chlorine kills the yeast and produced off flavors over time during fermentation. Try this test. Pour cooled boiled water in a cup as well s tap water in another cup. Put a pinch of yeast and sugar in each cup. Smell them over the next few 12 hours. You will likely sense something different smelling in each.
- Salt. I use Diamond Kosher salt but any salt without Iodine will work well. Table salt works also just keep in mind it will taste saltier and is Iodized so add a little less. Again the added chemicals will affect flavor over a longer fermentation but not same day fermentations. Himalayan pink salt tastes nice too.
- Sugar. Table sugar. It feeds the yeast and is not apparent at all in the finished bread. Honey will leave it sweetened to taste, dry without fat added, and is not readily available food for the yeast to feed upon. There is no residual sugar in the loaf, the yeast eats it all.
- Yeast. I use Active Dry yeast. I buy Red Star brand in 2 Lb vacuum sealed bags for a few bucks at Costco or Restaurant Depot. The packets are a waste of money if you bake more than once a week. Buy the 2 lbs and store in a zip loc bag in cool dry cabinet and it will last you months and you’ll bake more bread. No need to refrigerate after opening.
Now you CAN throw all the ingredients in the mixer with a dough hook for 6 minutes and if that was your expectation when you started reading this then go for it and skip to step 4 below. Just keep in mind by doing so you are leaving a lot of flavor development and structure elements out. Time fermenting = more flavor. The flour has a lot to offer and it needs time to do so. You see the ingredients are not the only variables in bread making, time and temperature play a part and make significant contributions in ways that ingredients alone cannot. Sometimes all of our schedules are pressed and we have to rush things along. I do this also on occasion so just go for it and make your bread. No judging here. Bread made at home is better than no bread. If your quest was to evoke the most flavor one can from the ingredients used then simply read on.
 You can augment the above recipe easily by employing one of two ways that will affect the flavor development of the dough resulting in a tastier loaf. The two methods shared are the Wet Dough method and Poolish method. The science behind each method is to allow time to build flavor in the dough over time. This additional time allows the yeast eats the sugar and grows releasing additional acids, alcohol and flavor compounds.
Lets start with the Wet Dough method. Nice and easy for bread whenever you like, no kneading required, requires 5 minutes of prep a day before, flavor development can vary based upon the dough’s age. Its called Wet Dough because the hydration level is greater and time allows the gluten in the four to develop.
- Combine all ingredients in a bowl + 20 additional grams of water just to bring it all together. The dough should look wet and lumpy but no visible signs of uncombined flour. Put plastic wrap on the bowl and put it in the fridge for at least 12 hours.
- The dough can stay in the fridge for up to a week but will require at least two hours to warm up on the counter in a 68 degree home. The longer the amount of time in the fridge to more flavor is developed.
- Turn your room temperature dough out on a lightly floured counter and fold it in half, turn it 90 degrees, fold it again and gather it into a ball like you are making a mozzarella ball. This shape is called a boulle and is the standard shape of any hearth type bread.
- Pre-heat your oven to 450 degrees for at least 30 minutes. The top rack should be in the middle of the oven. I like to put fire brick on the bottom and middle racks so my oven takes longer to heat up, about 1.5 hours so the bricks are at temperature. You don’t have to do this to make good bread but I am far enough along in my bread making that I tweak things each time I bake and note the results.
- Put a layer of cornmeal on a cookie sheet and place the boulle on it seem side down. Sprinkle flour on top and cover with a tightly woven (no shag) kitchen towel and set aside to rise. On top of the oven is good as the heat will transfer to the dough and wake up the yeast allowing it to rise to about twice it’s size. This will take about an hour depending upon dough temp and ambient air temperature.
- Once risen score the top of the boulle with a share knife or razor. Any shape cut is fine just no deeper than 1/4 inch. I like to use starburst design of 8 cuts.
- Open the oven quickly and put the boulle in oven. Close oven to retain heat.
- Now take a cup of boiled water and through it on the bottom of the over floor. This will cause the boulle to rise in the oven better (oven spring) and create a great crust. Be careful not to get burned from the steam. Be careful not to get any water on the glass of your oven door or it will break the glass. Do this standing to one side of the oven so you have a straight shot and can do it quickly as not to lose heat and not get burned by the steam. This steam addition will yield a better crust and better bread rising in the oven. This desired effect is called “over spring”. Close the oven door quickly so heat and steam do not escape.
- Bake 20-24 minutes until dark golden brown. Light brown is uncooked or cooked at too low a temperature. I usually flip the boulle upside down at 19 minutes so the bottom cooks as well as the top. When it is the desired color turn off your oven, turn it back right side up, and give it another 5 minutes to further crisp up.
- Remove from oven and let cool completely on a wire rack. The crust should be hard and crispy all the way around. It is still cooking and if you cut into it now the crumb (interior) will not set and will collapse and become dense and doughy. Remember, do not cut fresh baked brea when it’s hot. Let it cool completely first and then pop it in the over @ 200 degrees to warm up for 10 minutes. Then cut it and you will enjoy it at its best.
The Poolish Method is a technique that jump starts the fermentation and flavor development process and requires no refrigerator space. Poolish and Big are the same thing, just hydration levels and country of origin is the difference. They are both pre-fermentations. The basis of this technique is to take a small equal portions of flour and water and add a scant amount of yeast to the mixture and let it ferment for at least 12 hours but I let mine grow for 24-48 hours if time permits feeding it little flour each day and string it. The result is a very bubbly-esque sticky mass that helps the all the remaining ingredients combine well and pulls more flavor out of the added flour from the main recipe. More flavor = better. As you use your poolish add more flour and water in equal amounts to keep it going. You can refrigerate or freeze it for later but it will take a while to reactivate so I do not do this. I throw out any polish not used in 7 days as it more acidic than I care for. My poolish lives on my counter. You can also save a piece of dough from a previous batch in the fridge and use that as a pre-fermentation agent
- In a bowl combine 100 grams of water, 100 grams of flour, and 1 gram of yeast. Stir and cover with plastic wrap. This mixture should sit for 12 hours up to 48 hours. I make mine in the evenings after dinner to make bread in the morning so the kids wake up to the smell of fresh bread.
- The following morning in the mixer (with dough hook) add the 180 grams of water, the sugar, the poolish, the yeast and 232 grams of flour. You can do this by hand also with a wooden spoon.
- Turn on the mixer and let the ingredients combine for 2 minutes. Turn off the mixer.
- Do nothing for 20 minutes. This resting period, called autolysis, allows the flour to hydrate and the yeast to also to begin doing their jobs.
- Now turn the mixer on slow and add the salt and remaining flour that have been wisked together. (109 grams) Mix for 5 minutes on low and you may need a little additional flour. You are looking for the dough to clear from the sides of the bowl. If you are doing this by hand then knead the dough for 5 minutes. We do this second addition of flour and salt so A) the initial flour can hydrate and become friends with the poolish B) the added yeast can hydrate and feed on the sugar and C) salt slows fermentation so adding it earlier can lessen the rise. D) we want the poolish, flour, sugar, water and yeast to have a head start.
- Place the kneaded dough in a lightly oiled bowl and cover with a tightly woven kitchen towel in a warm place and allow it to rise. When I say warm I mean 75-80 degrees warm, not 125 degrees warm. It should double in size within the hour. This is the first rise.
- Pre-heat your oven to 450 degrees. The top rack should be in the middle of the oven.
- Turn your room temperature dough out on a lightly floured counter and fold it in half, turn it 90 degrees, fold it again and gather it into a ball like you are making a mozzarella ball. This shape is called a boulle and is the standard shape of any hearth type bread. The reason we fold, turn, fold, turn is to develop layers of gluten strands that are criss cross like a fabric.
- Put a layer of cornmeal on a cookie sheet and place the boulle on it seem side down. Sprinkle flour on top and cover with a tightly woven (no shag) kitchen towel and set aside to rise. On top of the oven is good as the heat will transfer to the dough and wake up the yeast allowing it to rise to about twice it’s size. This is the second rise and will take about an hour depending upon dough temp and ambient air temperature.
- Once the second rise has occurred score the top of the boulle with a share knife or razor. Any shape cut is fine just no deeper than 1/4 inch. I like to use starburst design of 8 cuts.
- Open the oven quickly and put the boulle in oven. Close oven to retain heat.
- Now take a cup of water and through it on the bottom of the over floor. This will cause the boulle to rise in the oven better (Oven Spring, see below) and create a great crust. Be careful not to get burned from the steam. Be careful not to get any water on the glass of your oven door or it will break the glass. Do this standing to one side of the oven so you have a straight shot and can do it quickly as not to lose heat.
- Bake 20-24 minutes until golden brown. I usually turn the boulle upside down at 18-19 minutes so the bottom cooks as well as the top. The upper part of your oven has hotter air than the bottom
- Remove from oven and let cool completely on a wire rack. Remember it is still cooking when you take it out of the oven and if you cut into it now the crumb (interior) will not set and will collapse and become dense. Resist the temptation.
If you like warm bread then let your bread cool then pop it back into a 200 degree oven for 10-15 minutes max and it will be warm with a crackly crust.
- Notes:
- You can use a pizza stone, unglazed tiles, or firebrick in the oven. This will allow for a faster transfer of heat to the bottom of the boulle resulting in better oven spring.
- Read Peter Rheinhart’s bread books, a great reads and adventures.
- Try this same recipe 2 dozen times to gain some mastery.
- Bake a few loaves weekly for those you love.
- Yes you can use other methods of fermentation like biga, epoxy, etc… but dive into these after you can consistently get loaves you enjoy.
Over Spring – what is it? You’ve heard the term and it’s the holy grail of baking. When your bread rises quickly in the oven while baking leaving it fluffy and tender inside. So what is it all about and why does it work? There are 2 methods to achieve oven spring and I do use both each time I bake bread because we notice the difference.
Method 1 is heat transfer to the bottom of the loaf. This is accomplished by using firebricks or baking stone to bake upon. I like firebricks because they are thicker and retain more heat than baking stone but that is jus preference. Firebrick on the bottom rack work really well also in keeping the oven hot when the door it opened but you need to allow the oven to heat up fro along period of time. When the bread is placed upon the baking stone all the small bubbles of carbon dioxide in the bread that the yeast emit are heated quickly causing the water vapor to turn to steam, making the carbon dioxide bubbles bigger quickly making your bread rise further in the oven. The old brick baker’s oven have brick floors in them that act as a heat sink so I want to recreate this environment at home. Their ovens hold heat very well so this method aims to simulate those results at home with out a brick oven.
Method 2 is place water in the bottom of the oven. This steam addition creates an environment where the air density between what is in the load trying to escape and the oven environment where the steam attracts the contents of the bread leading to a further rise. It also yields a nice thick crispy crust on the outside which is very desirable as the steam in the oven air and the steam created in the carbon dioxide bubbles (thank you yeast for your sacrifice) meet and balance at the crust’s edge. Ever notice the crust often has many micro bubbles? All modern commercial ovens also use steam to achieve this result so we at home can do our best to create that environment also.
Now you can achieve oven spring using only one of these methods but I use both to insure my baking is consistent. My reasoning is if I am putting the time into it I want it to come out best it can be. Don’t expect yours to be perfect trail 1 but make a few dozen loaves and pay attention to the dough’s hydration, your room’s temperature, your oven and tweak one thing at a time until you find your sweet spot where you are pleased with your results. Buy the 50lb bag off flour. 🙂
-
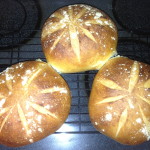
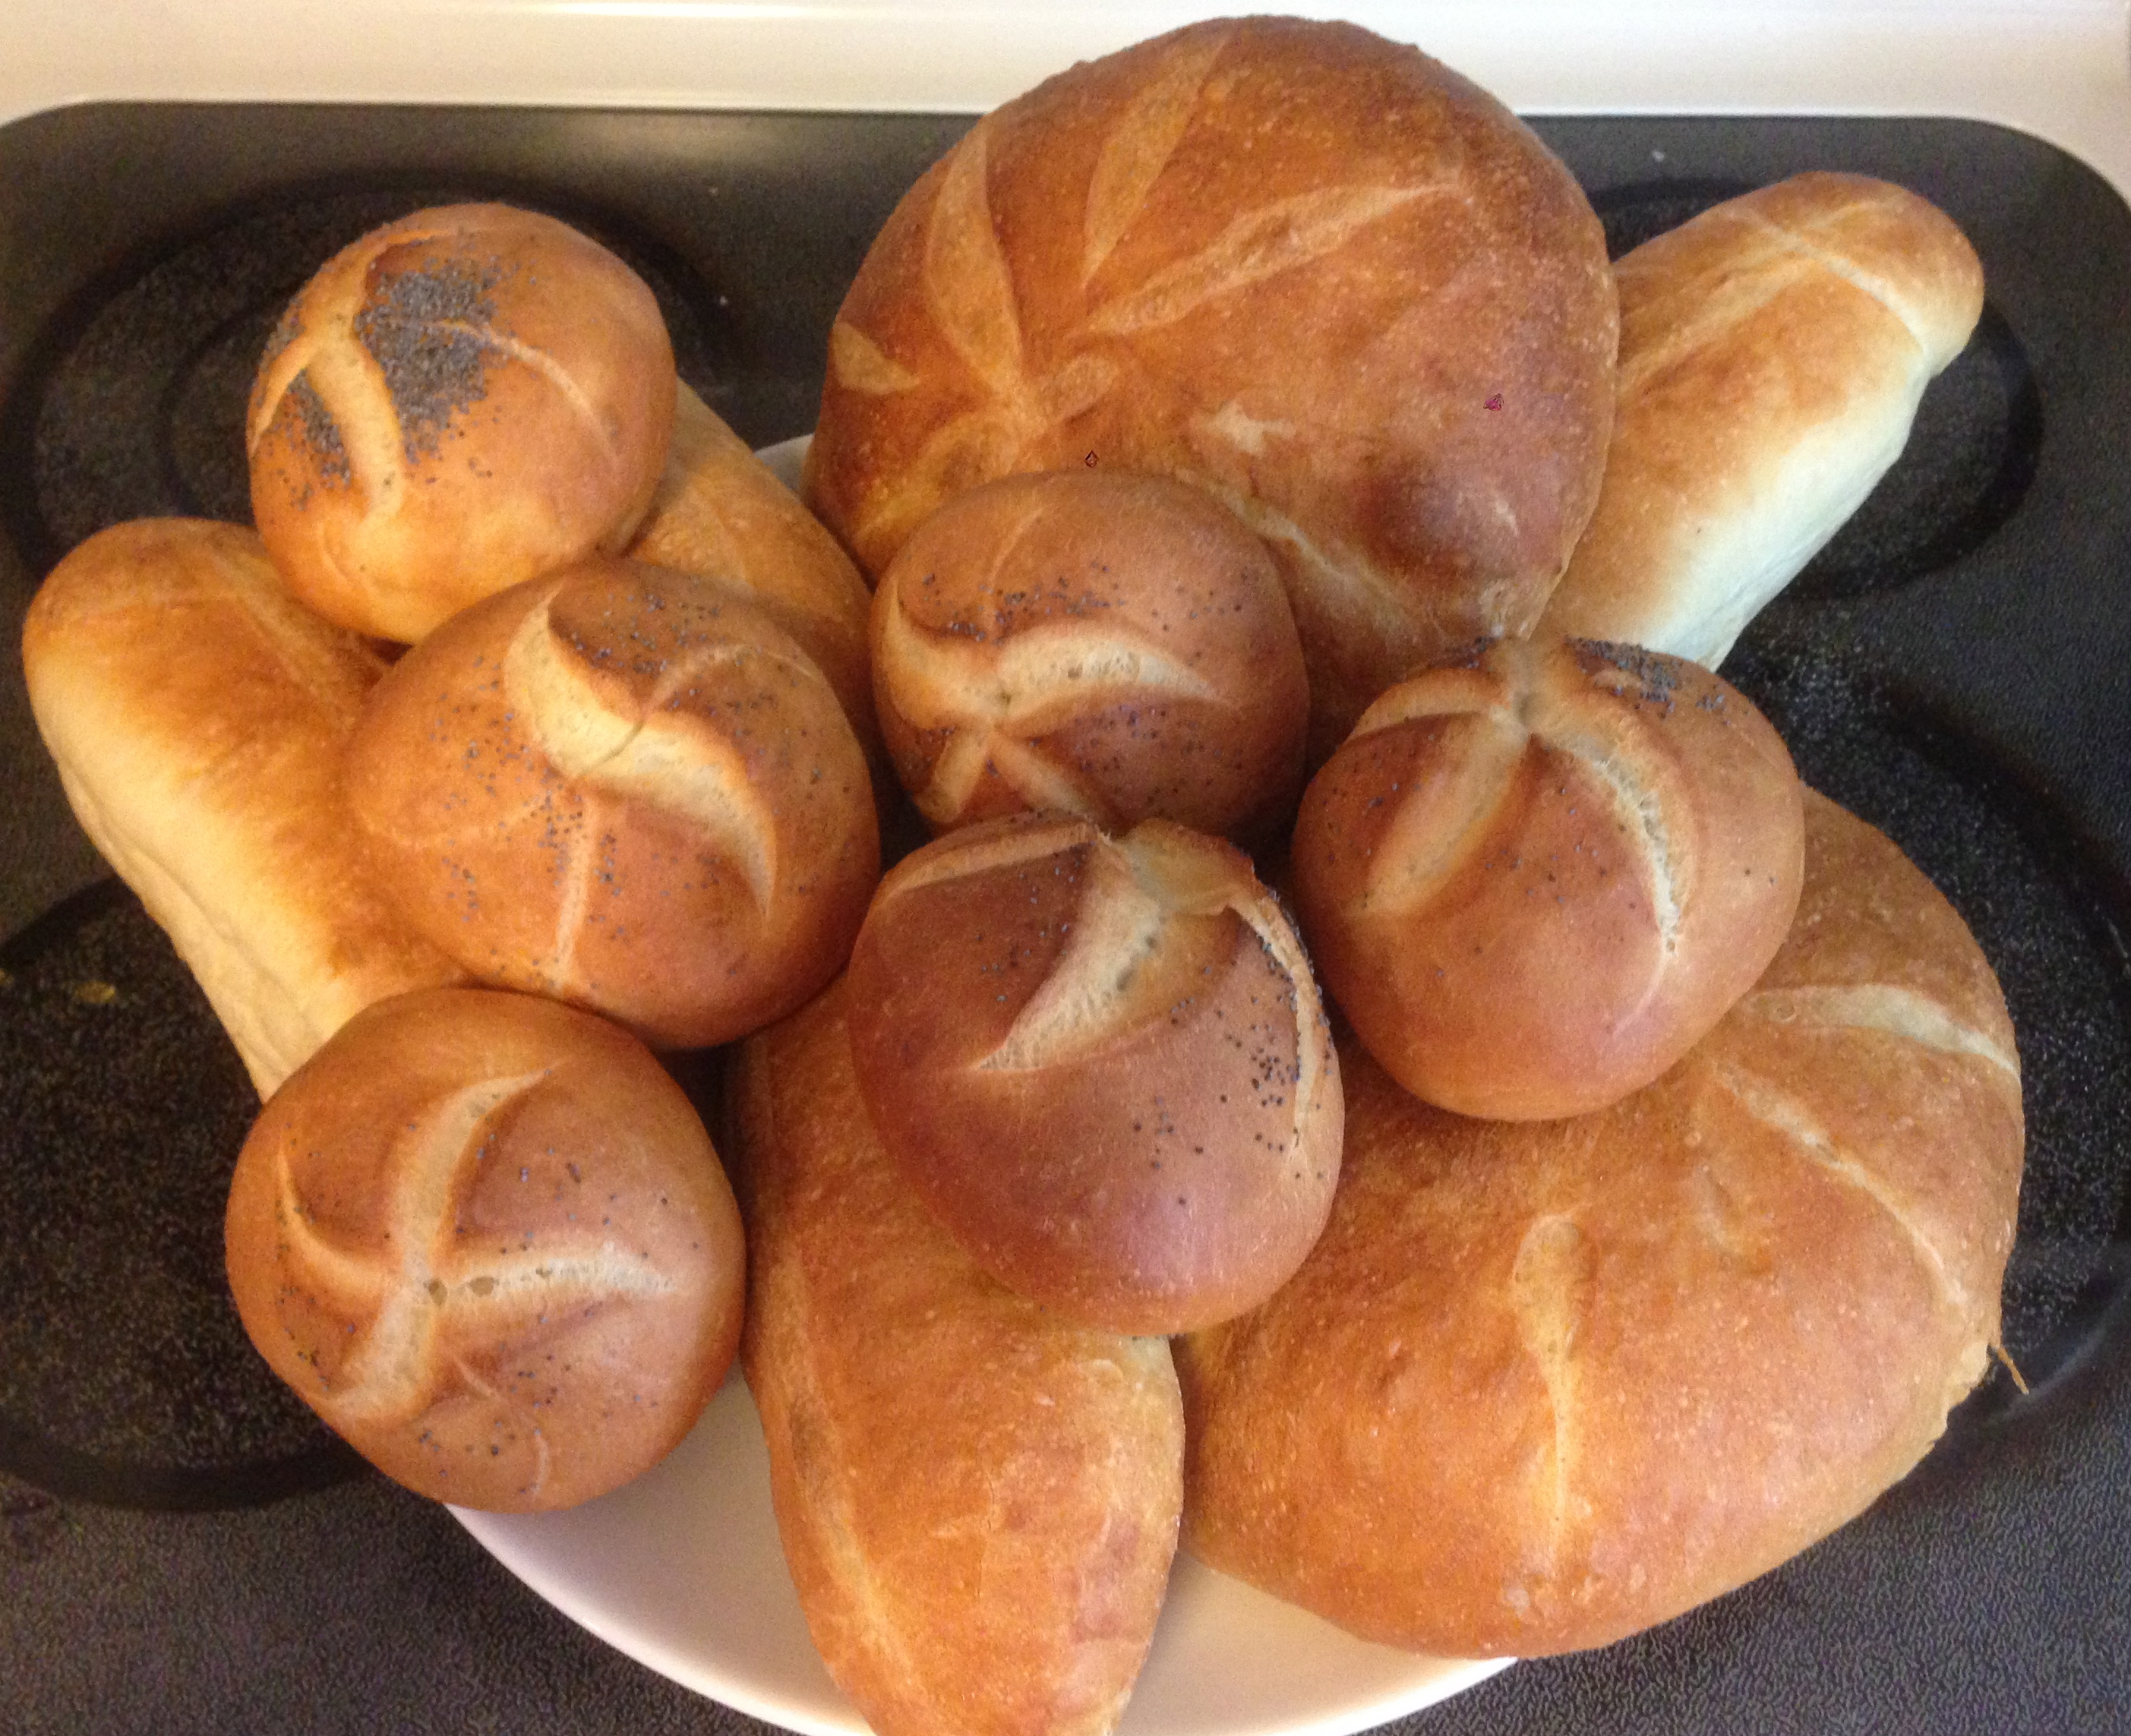
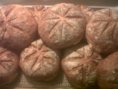
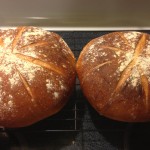
- Standard country boulles.
-
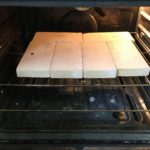
- Firebrick “splits” to bake the bread upon.
-
- These did not make it through the evening with a household of 6.
-
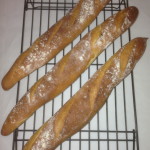
- Baguettes. Marie, the baguettes!
-
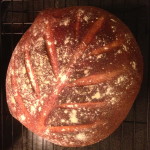
- Playing with designs on the crust is fun as well as functional allowing steam to escape and the bread to rise further.